

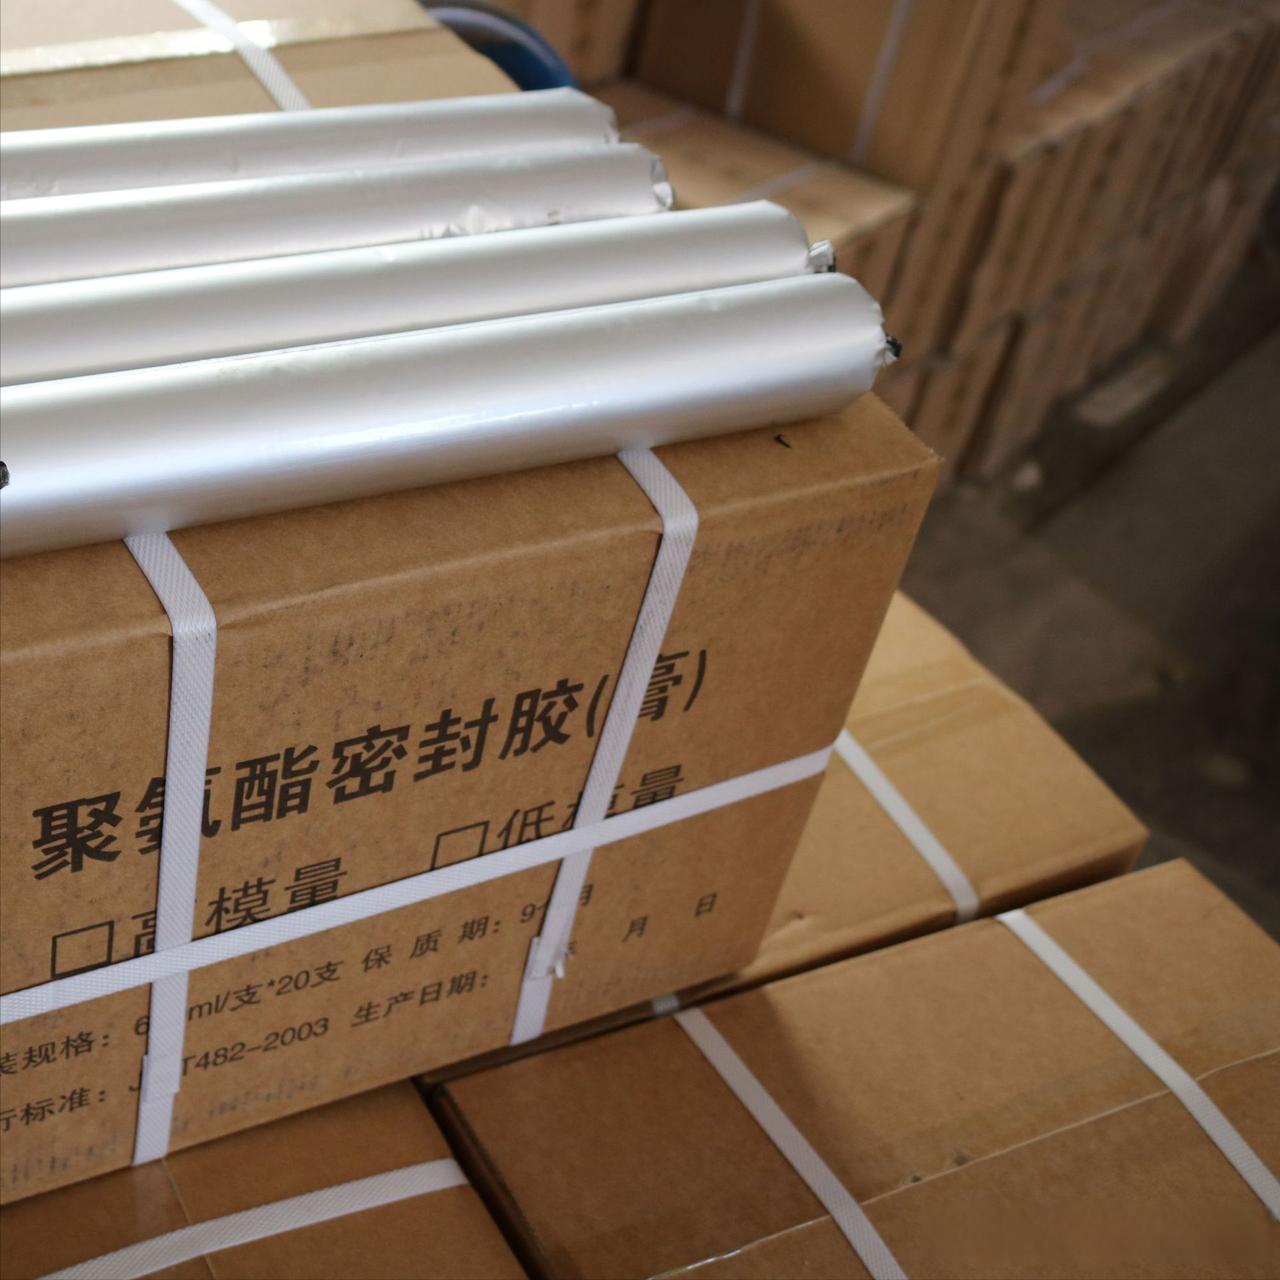
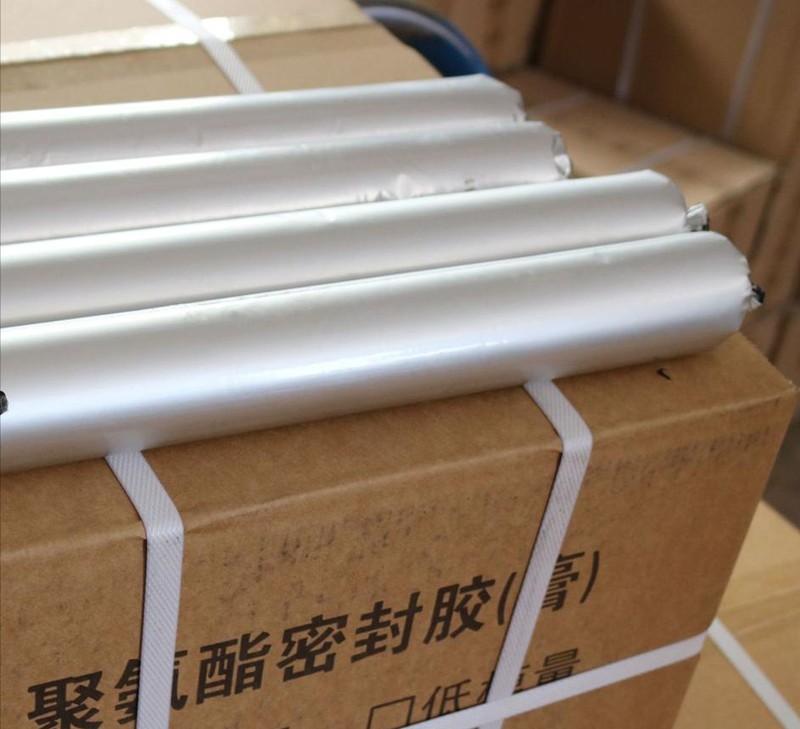
Neutral-Cure Weatherproof Sealant for TPO/PVC Roof Sheets & Termination Bars
Product Description
This professional-grade, neutral-cure silicone sealant is specifically formulated for weatherproofing and sealing single-ply polymer roof systems. It provides a durable, flexible, and watertight seal at critical termination points, including roof sheet seams, perimeter edges, and fastener bars. Its neutral curing mechanism ensures compatibility with Thermoplastic Polyolefin (TPO), Polyvinyl Chloride (PVC), metals, and concrete without risk of corrosion or staining.
Key Features & Benefits
* Excellent Weather Resistance: Withstands prolonged exposure to UV radiation, ozone, rain, snow, and extreme temperatures without cracking, hardening, or degrading.
* Permanent Flexibility: Maintains exceptional elasticity after curing, accommodating thermal expansion and contraction of roof materials and dynamic movement at joints.
* Neutral Curing Formula: Releases non-corrosive vapors during curing, making it safe for use on sensitive polymer membranes and metal fastener bars.
* Superior Adhesion: Bonds strongly to a wide range of construction materials, including TPO, PVC, EPDM, aluminum, galvanized steel, and concrete.
* Easy Application: A ready-to-use, one-component sealant that can be easily applied with a standard caulking gun, streamlining on-site installation.
Applications
This sealant is designed for use in commercial and industrial roofing applications, including:
* Sealing termination bars and perimeter cleats.
* Seaming and splicing TPO/PVC roof sheets.
* Sealing around roof penetrations (pipes, vents, conduits).
* Sealing metal flashings, copings, and parapet walls.
* Creating watertight seals at wall-to-roof interfaces.
Installation Guide
1. Surface Preparation:All surfaces must be clean, dry, and free of dust, oil, grease, rust, and old sealant. For optimal adhesion to TPO/PVC, wipe the membrane with a compatible cleaner.
2.Priming: Testing is recommended to determine if a primer is necessary for specific substrates.
3. Application:
* Use a standard caulking gun. Cut the nozzle to the desired bead size.
* Apply a continuous, uniform bead of sealant into the joint, ensuring full contact with both sides.
* For deeper joints, use a closed-cell backer rod to control the sealant depth and ensure proper adhesion.
4. Tooling: Immediately after application, tool the bead with a smoothing tool or spatula to press the sealant into the joint and create a smooth, concave finish.
5. Curing: Allow the sealant to cure fully. Curing time is dependent on ambient temperature and humidity.